Skip to content

Marketwatch

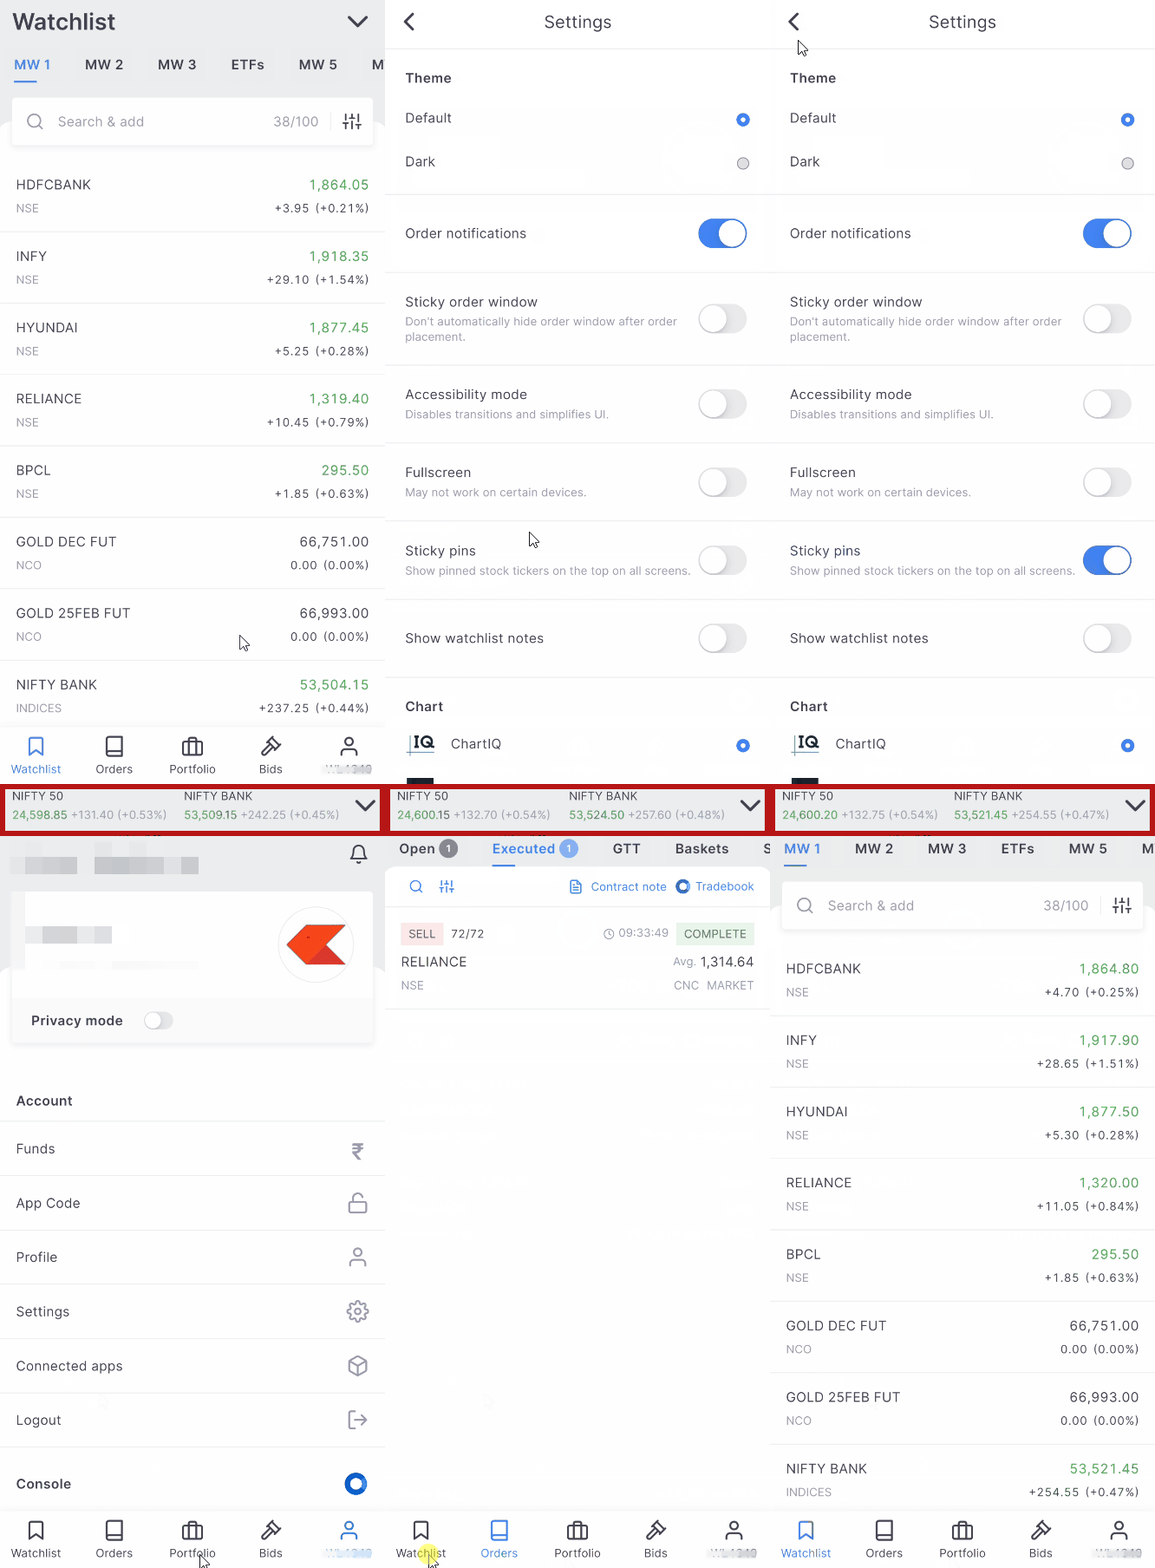
  • The Marketwatch includes seven watchlists numbered from 1 to 7.
  • Each watchlist can display a maximum of 50 instruments.
  • Users can swipe left or right to switch between watchlists.
  • Shares on the watchlists are denoted by a briefcase icon that indicates the number of holdings.
  • Marketwatch settings allow for the rearrangement of instruments alphabetically based on the percentage change, Last Traded Price (LTP), and exchange. To learn more, See How to save marketwatch settings in Kite?
  • Open High Low Close (OHLC) data, average price, volume circuits, Last Traded Time (LTT), Last Traded Quantity (LTQ), Open Interest (OI), and contract expiry information for each instrument are displayed by clicking on a particular instrument on the marketwatch.

Pin instruments

Instruments can be pinned globally for easy viewing. To pin instruments in the Overview, follow these steps:

  1. Tap on the instrument.
  2. Scroll down and select Spot 1 or Spot 2.

Adding instruments

To add instruments to the marketwatch, follow these steps:

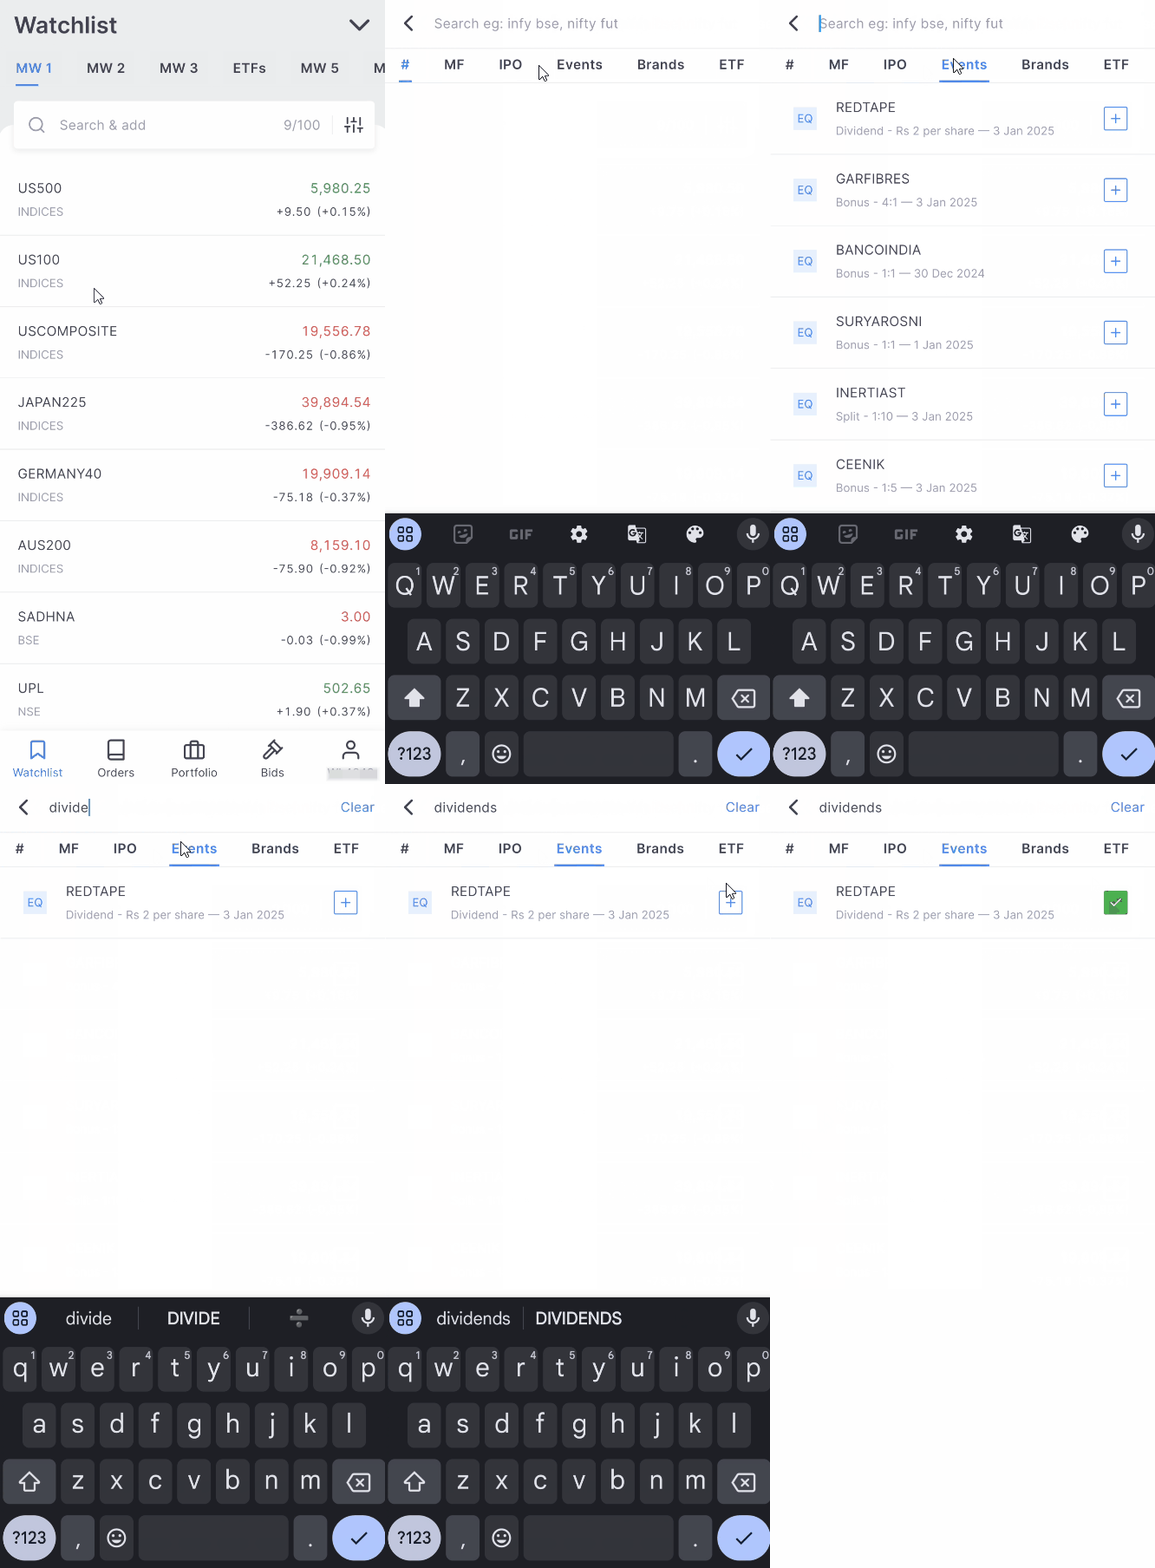
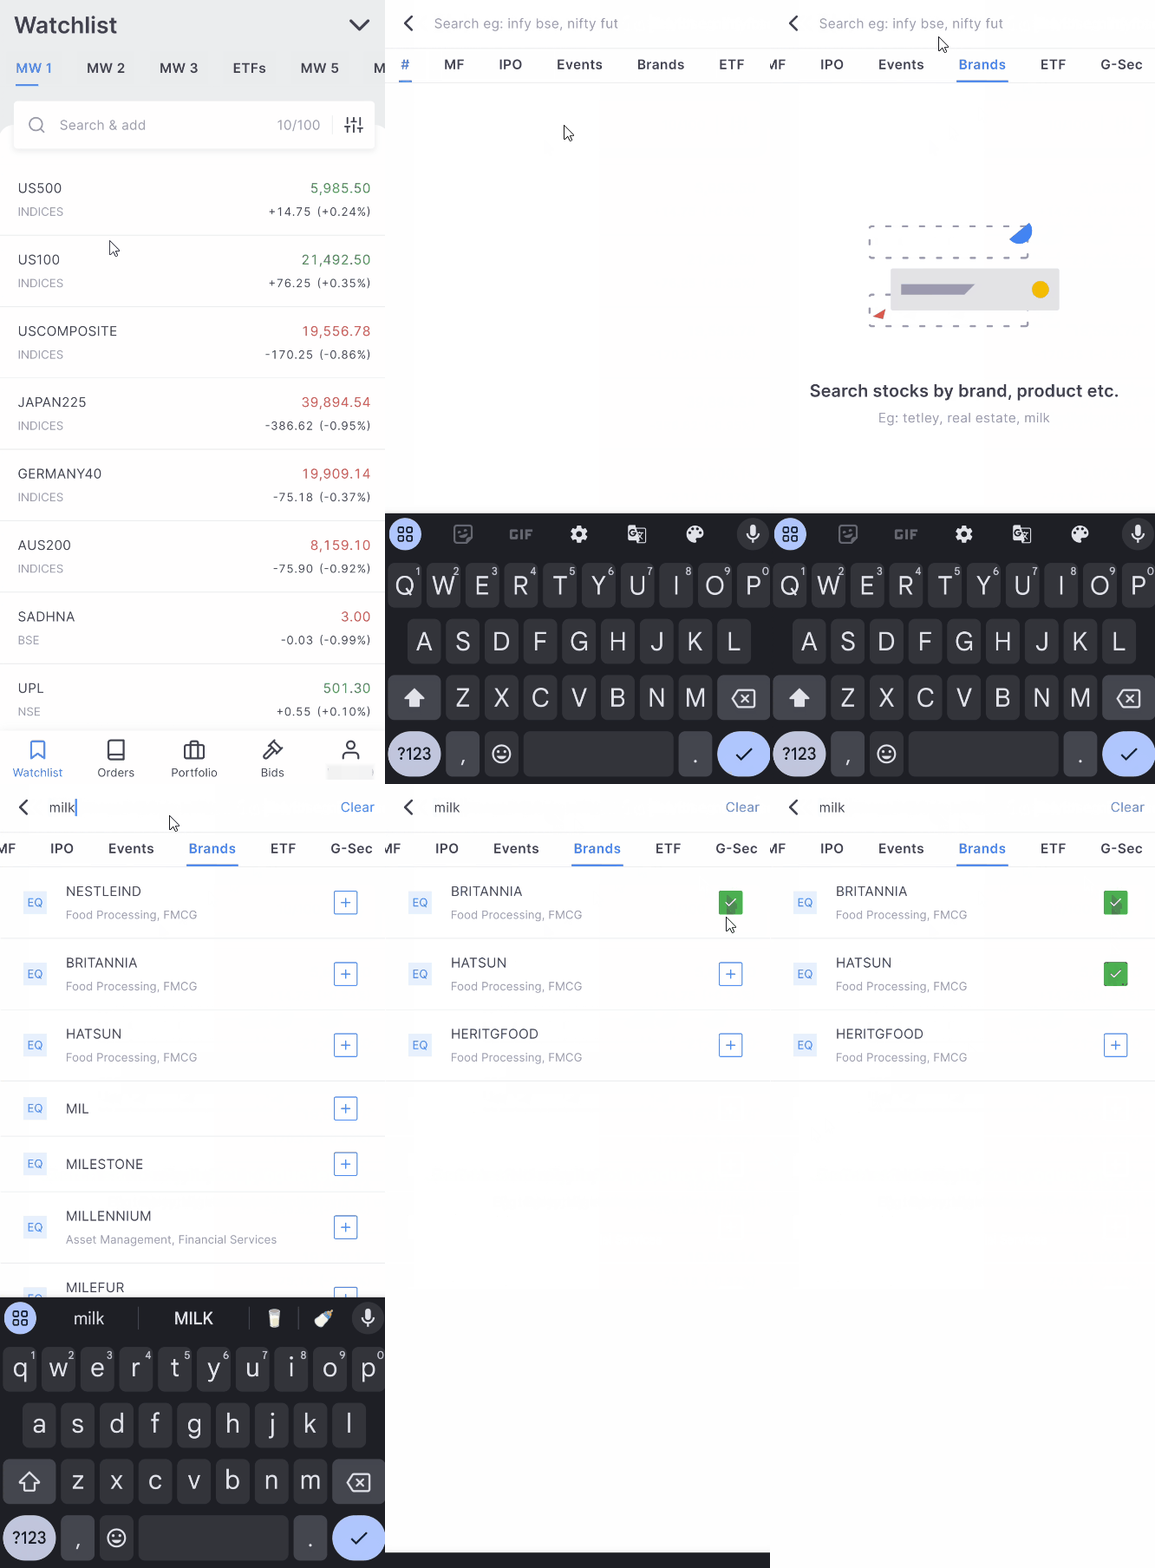
  • Stocks: To add stocks such as Reliance to the marketwatch, type Reliance and tap on +.

  • Index: To add Nifty indices such as Nifty 50, Banknifty or Nifty Financial Services type Index followed by the name of the index. To add Nifty Financial Services, type Index Nifty Fin Service and tap on +.

  • Futures contract: Search the trading symbol followed by a space and then the month followed by Fut. To add the September futures contract of Bank nifty, type BankNifty Sep Fut and tap on +.

  • Options contract: Search the trading symbol followed by a space and then the strike price followed by CE or PE. The strike price of the weekly and monthly options is displayed. To add the first week of September 17000 call option contract of Nifty, type Nifty 17000 CE and tap on +.

Edit marketwatch

Long press on the marketwatch name or any marketwatch item to enter the edit view.

  1. Rearrange instruments: Rearrange instruments in the edit view by dragging them to the desired position using the icon on the left.
  2. Delete: Delete instruments by tapping on the bin icon.
  3. Rename: Tap on the bar above and enter the desired name to rename the marketwatch. To learn more, see How to rename the watchlist on Kite app?

Sort and filter

Tap on the Sort and Filter icon on the top right to sort or filter the marketwatch instruments. Save the order of the instruments after sorting by tapping on the Save icon. The save icon is disabled when a filter is applied.

Market depth

Market depth displays the following:

  • Qty: This column displays the quantity available for buying or selling at a particular price.

  • Orders: This column displays the number of orders pending at that particular price on the exchange.

  • Open: This column displays the open price for the day.

  • High: This column displays the highest price for the day.

  • Low: This column displays the lowest price for the day

  • Prev. Close: This column displays the closing price of the previous day

  • Volume: This column displays the total number of shares bought or sold during the trading day.

  • Avg. Price: This column displays the average trading price of a stock at a given time during the day. It is also called Volume Weighted Average Price (VWAP).

  • LTQ: This column displays the last traded quantity.

  • LTT: This column displays the Last traded time.

  • Expiry: This column displays the expiry date for derivative contracts.

  • Lower Circuit and Upper Circuit: This column displays the circuit limit. It is the price range within which the stock can be traded for that day. To learn more, see What does circuit limits i.e price bands mean?

  • OI: This column displays the open interest in that particular contract. Visit zerodha.com/varsity/chapter/open-interest to learn more.

Tap on any watchlist instrument to see the market depth, place orders, invoke charts, or other widgets. To view the market depth of an instrument, tap on the instrument and scroll up.

20 Market depth

Zerodha stands out among retail brokers for providing its clients with access to 20 market depth or Level 3 data, which shows the top 20 bids and offers for stocks at various prices and quantities. This is in contrast to regular market depth or Level 2 data, which displays only the top 5 bids and offers for stocks and F&O contracts at different prices and quantities. To learn more, see What is the 20 market depth feature and how do I view it?

Funds

Tap on Funds to see the account balance, add funds to the trading account, or place a withdrawal request. View the funds statement by tapping on View statement.

Transfer funds either to the equity or commodity account. To learn more about transferring funds, visit zerodha.com/fund-transfer. Various modes to transfer funds are mentioned below:

UPI

Transfer funds instantly from the registered bank account using UPI for free. It's mandatory to initiate all UPI transfers from Kite, as Zerodha doesn't allow digital wallet transfers or direct transfers from UPI apps. To add funds using UPI, follow these steps:

  1. Tap on Funds.
  2. Tap on Add funds.
  3. Enter the amount and select the bank account from the linked bank accounts.
  4. Tap on UPI.
  5. Select the UPI app and approve the transaction by entering the UPI pin.

Ensure to make the payment from the collect request only and not by initiating a new transfer to Zerodha's VPA (UPI ID).

Google Pay

  1. Tap on Funds.
  2. Tap on Add funds.
  3. Enter the amount and select the bank account from the linked bank accounts.
  4. Tap on Google Pay.
  5. Tap on Pay and approve the transaction by entering the UPI pin.

Instant payment gateway

Funds can be transferred instantly through net banking. ₹9 + 18% GST will be charged for such transfers.

To know more about adding funds using the payment gateway and the list of the supported banks, see How to add funds using netbanking on Kite?

NEFT/RTGS/IMPS

To transfer money, add Zerodha as a Beneficiary (Payee) in the internet banking portal. To learn more, see How to transfer money to my Zerodha account using IMPS,NEFT or RTGS?

Please be aware that NEFT/RTGS/IMPS fund transfers are not immediate. It may take anywhere from 30 minutes (for IMPS) to up to 10 hours (for NEFT) for the funds to reflect in the trading account. Visit zerodha.com/fund-transfer to learn more.

Important

  • Transferred funds will be visible under the Payin section of the funds menu for that specific day.
  • Funds must only be transferred from the bank account linked with Zerodha.

Withdrawal

The Withdraw button on the Kite app opens the fund withdrawal request menu on Console.

To withdraw funds, follow these steps:

  1. Tap on the user ID.
  2. Tap on Funds.
  3. Tap on Withdraw.
  4. Enter the amount and tap on Continue.
  5. Tap on Confirm, and the withdrawal request will be placed.

Fund withdrawal requests are processed at designated cut-off times. If a request is made before the cut-off time, the funds are generally credited to the bank account within 24 hours from the cut-off time. However, if the request is made after the cut-off time, it can take an additional working day (up to 48 hours in total) for the funds to be credited to the bank account.To know the cut-off times, see How much time does it take to process a withdrawal request?

The funds section on the Kite app includes

  • Opening balance : This is the cash available in the trading account at the beginning of the day.
  • Payin : The funds added to the account during the day reflect as the payin balance.
  • Payout : The amount that is processed for withdrawal reflects in the payout column.
  • SPAN : This is a part of the amount blocked for the F&O trades. Exchanges use Standard Portfolio Analysis of Risk (SPAN) to calculate risk and margins for F&O portfolios.
  • Delivery margin : This is the margin blocked while selling securities (20% of the value of stocks sold) from demat or T1 holdings. As per the peak margin norms, only 80% of credit from selling holdings will be available for new trades. The funds blocked under this field will be available from the next trading day. The delivery margin also includes an additional margin blocked if there are any F&O positions due for physical delivery.
  • Exposure : The exchanges charge the exposure margin over and above the SPAN margin to cover risks that the SPAN margin may not cover.
  • Option premium : The total amount paid to purchase options. This value will be negative if the funds are received for shorting or writing options.
  • Collateral (liquid funds) : This column shows the amount received from pledging Liquidbees ETFs or liquid mutual funds and can be used for trading purposes.
  • Collateral (equity) : This column displays the amount received from pledging shares or ETFs and can be used for trading purposes.
  • Total collateral : This is the sum total of liquid funds and equity collateral.

App Code

The App Code is a Time-based One-Time Password (TOTP) that is generated within the Kite app and used for logging in to the Kite web. This code replaces the PIN-based login method and eliminates the need for a third-party TOTP app. Each code remains valid for 30 seconds, after which a new code is automatically generated.

Did you know? App code is not required if external TOTP is used to log in to Kite.

Profile

  • The profile section displays details such as email ID, mobile number, PAN, demat number, etc., that are linked to the account.
  • To obtain the support code required for calling the support phone line or to change the email ID and mobile number, tap on Manage Account.
  • To change the password or PIN or to enable or disable 2-factor authentication, tap on Manage beside Password & Security.
  • To change the profile photo, tap on the profile image.
  • To view all the active logins for the account, tap on View active sessions.
  • To log out of all active Kite sessions, tap on Clear sessions.

SL-M orders are more likely to be executed than SL orders. Buy SL order is used to place orders above the current market price. Sell SL order is used to place orders below the current market price.

SL-M orders are blocked for index options to reduce the risk exposed towards the freak trades. To use a SL order like a SL-M order, see How to use Stoploss-limit(SL) order like a Stoploss-Market(SLM) order?